10/28/19

BrickAwesome Lego Fan event part 2

BrickAwesome in Barrie!

In our last post, we showed some pictures of what we were going to display at the event.
Now, here are some pictures of other fan creations at the event:

This 'Queasy Kitty' was made with over 15,000 Lego bricks!


Winter Village had two Lego trains circling the village. 
Falconridge was a big Lego medieval village with lit up areas

The Lego Roller Coaster operated by gravity using well designed twists and drops. 

Lego Marvel 

Transformers

A Classic Lego Space City

A Lego Baseball game

Lego Taj Mahal


And here's how our display looked at the event:

The BrickAwesome Lego fan event was even covered by local CTV news.  Here's a link to a brief clip about the day: 

There was even a news camera from CTV present!

There were so many awesome displays from other builders; it was so neat to meet other Lego enthusiasts.
Lego Star Wars display


We has so much fun; there was a table set up with piles of bricks to build with, including wheels to make racers.  We made several models to race and play with.


Another table had racing lanes set up for mini car drag racing. 


There were five Speed Building challenges, and we took part in all of them.

We're speed building the Jet!


Here is a video of us doing the Sailboat Speed Build.  E1 finished first!


And we won an award at the end for 'Spectacular Build'


Overall, we had tons of fun!


10/24/19

Lego fan event this weekend: BrickAwesome in Barrie!


Space Attack by E1 and Fighter Jet by E2

We are so happy to display some of our creations this Saturday at Brickawesome's event.  Brickawesome is a lego club nearby to us.  Me and my brother just became members of this club.
Here are a few pictures of what we will be displaying.


Space Attack is about a man named Bill Pockets at war with his brother, Chill Pockets. Bill and Chill got into a fight over who should rule Earth so they have been tense ever since, and that started a war between them.  Unfortunately, Chill forgot about it just when his brother struck.  Chill's crew is defending their ship from Bill. (This is the future, so you know)
This is Chill's air ship, THE PHOENIX. 


This guy is part of Chill's crew.

They also part of Chill Pocket's crew.


 Chill's ship can fly 23,481,293,000 km per hour on its slowest speed. Its fastest speed is UNLIMITED. It goes 123,453,240 km off ground. It has six ultra guns on it. known as Phoenix guns because when they fire the artillery it is always regenerating, so that must mean it has unlimited bullets!!!

This is the Pocket target space fighter, piloted by Bill.


This is E2's Fighter Jet:

This is my Fighter jet.
Fighter Jet is a jet that goes on adventures and fights bad guys on the adventures.  On the right side of the jet is a storage for guns. It has 10 guns.  There is a bot on the top of the jet so the jet can have more guns. The jet's maximum speed is 973 km/hour.  It can fly up to 249 km above ground. The jet is powered by a special mineral called brickium. Brickium is very rare but powerful.


This is the bot on top.

This is the side of the bot.

This is the front of the bot

This is the back.


We can't wait until Saturday!

For more info on BrickAwesome and their event visit: http://brickawesome.ca/

10/7/19

E2's Classic car

Here is my first post with instructions.  This is my Classic Car.

Here's how to build my car.

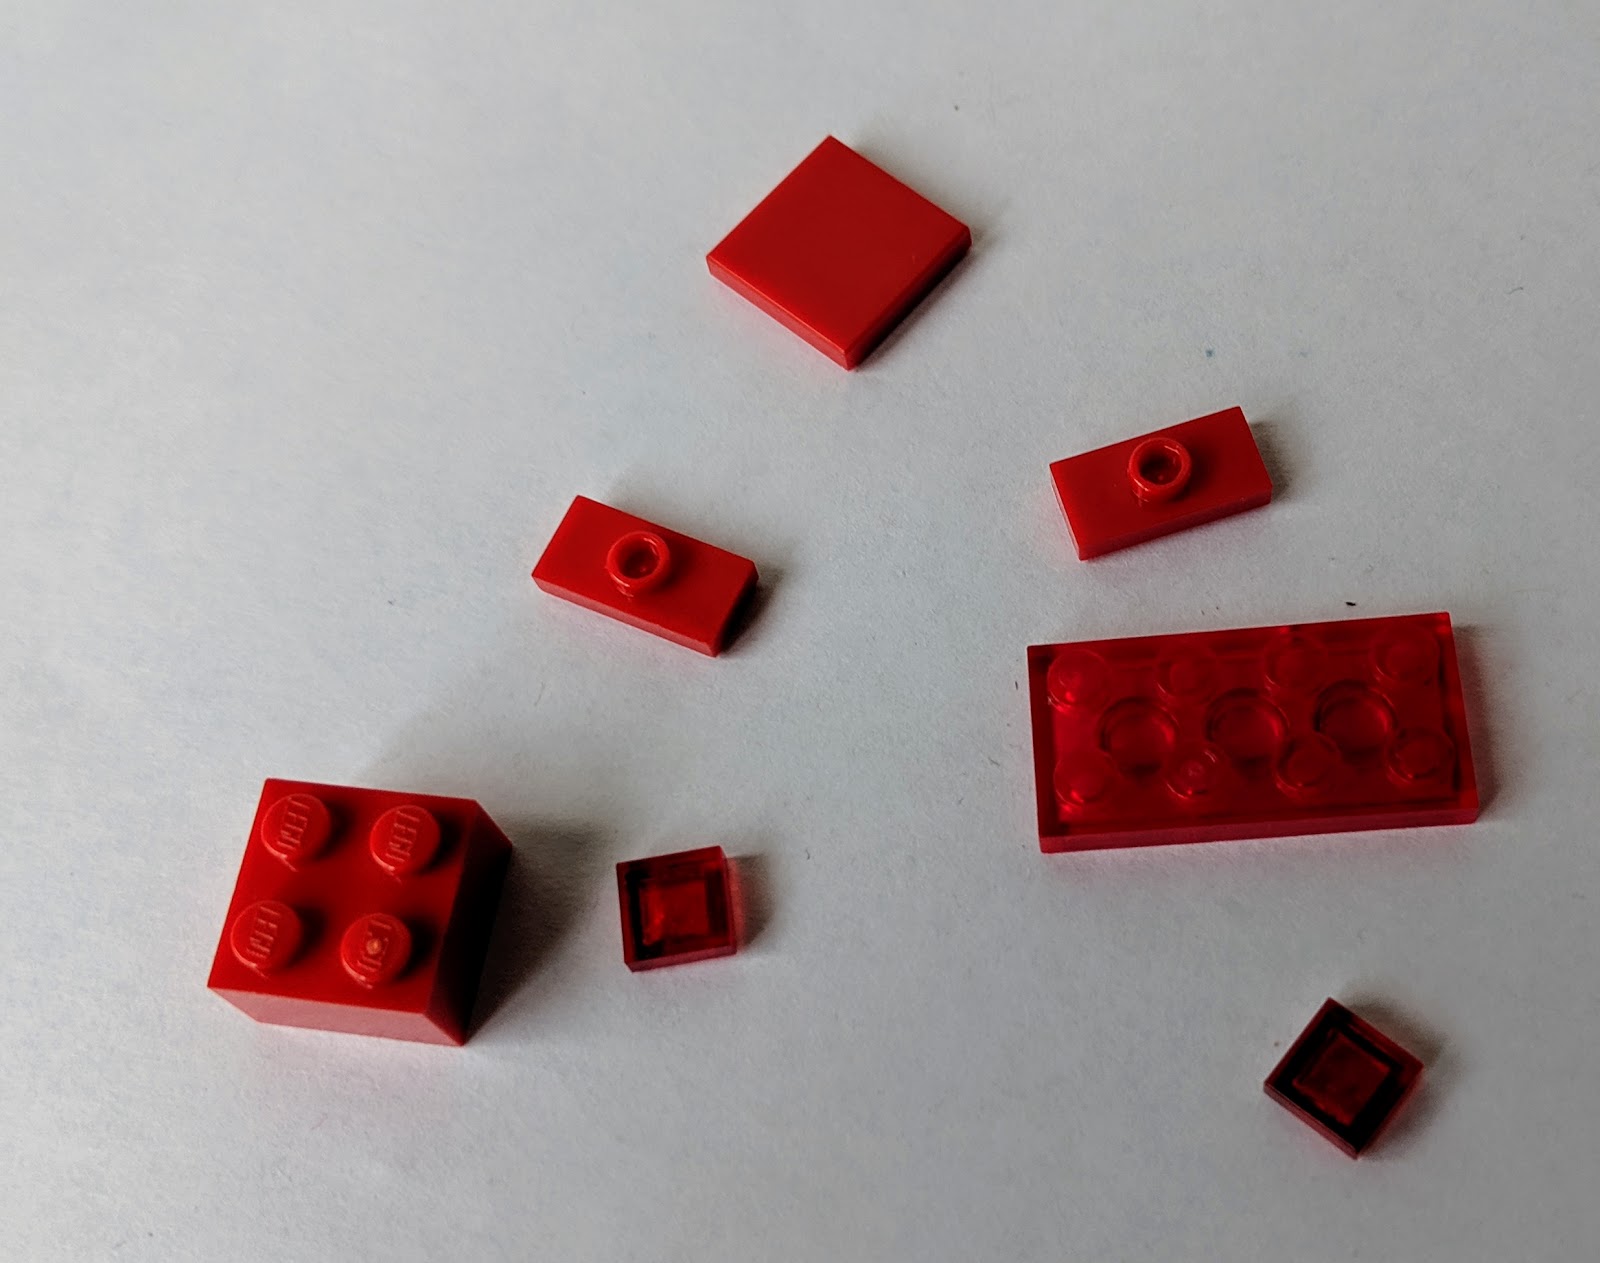
First, these are the bricks I used to make my car:

Next, here's how you can make it too:

Use these for the front.


Step 1: Put the grille together on the angle plate 1x2/2x4 brick


Step 2: Place the lights on either sides of the grille


Step 3: add the red lights 


Step 4: place the front piece on the wheel well piece.


Step 5: Put the orange light piece in the gap


Step 6: place the four glass pieces on.


Next, use these pieces to make the back:


Step 7: Place the the 2x4 piece on the 2x2 brick.


Step 8: Place the flat tile in the middle of the 2x4.


Step 9: Put the 1x2 single knobs on either side of the flat tile


Step 10: add the back lights


Next, use these pieces to build the rest of the car.


Step 11: Place the 2x2 on the front.


Step 12: Add the seat.


Step 13: Add the side lights


Step 14: Add the other side lights.

Step 15: Place the yellow 1x1 bricks


Your build should look a bit like this so far:

Step 16: Place the front on the body of the car.


Step 17- Last Step: Place the back on.

Now, put your guy in the car and enjoy driving all over the table!